Mutation testing (an error-based testing technique / fault-based testing technique) is a lesser-used technique to help ensure high software quality. This post provides an introduction to mutation testing and an overview of the practical aspects of this testing technique.
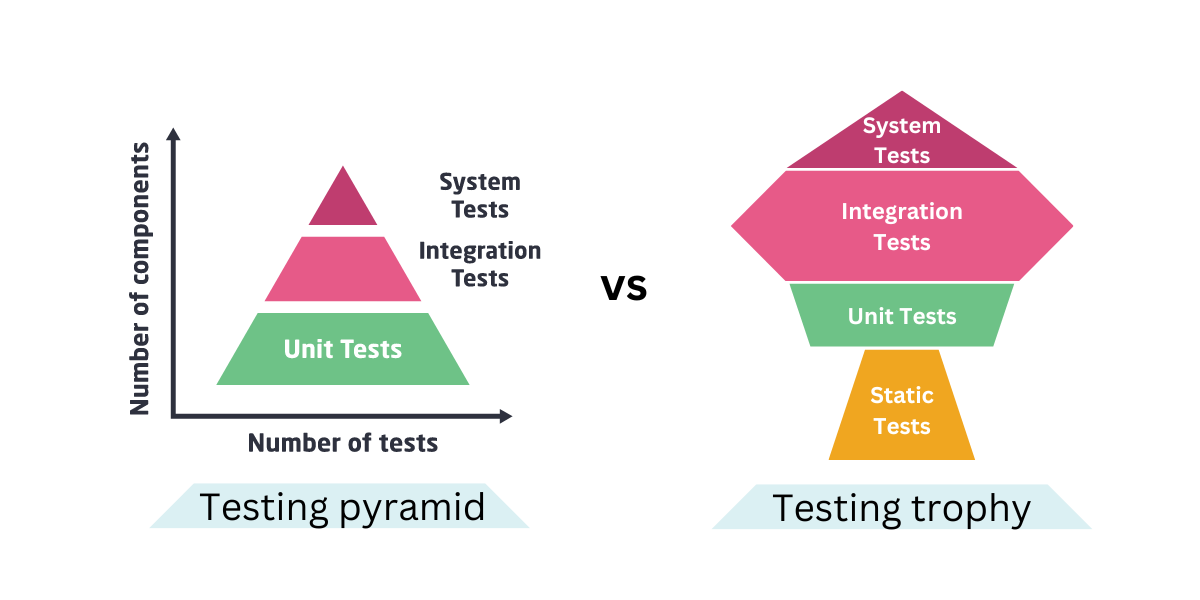
The crucial role of software quality need not be emphasized. (Curious about the costs of missing proper testing? Check out our post series on the subject!) But how exactly you get robust software quality, in practical terms, is a more difficult question. There are numerous testing models and strategies out there. In terms of general approaches, we’ve already covered the testing pyramid and the testing trophy on this blog.

Today, we’re diving into a specific testing technique that isn’t part of the testing repertoire of most developers – but maybe it should be. Let’s start with a quick introduction to mutation testing!
What is mutation testing?
The idea of mutation tests go back to the 1970s but back then, the technique was deemed too resource-intensive to be used. With the computing power in today’s computers, however, it has become a viable way of testing.
Mutation testing is what we call a fault-based testing technique. You can use it to “test your tests”, e.g. to evaluate the quality of your test suite and see how well it performs at discovering errors.
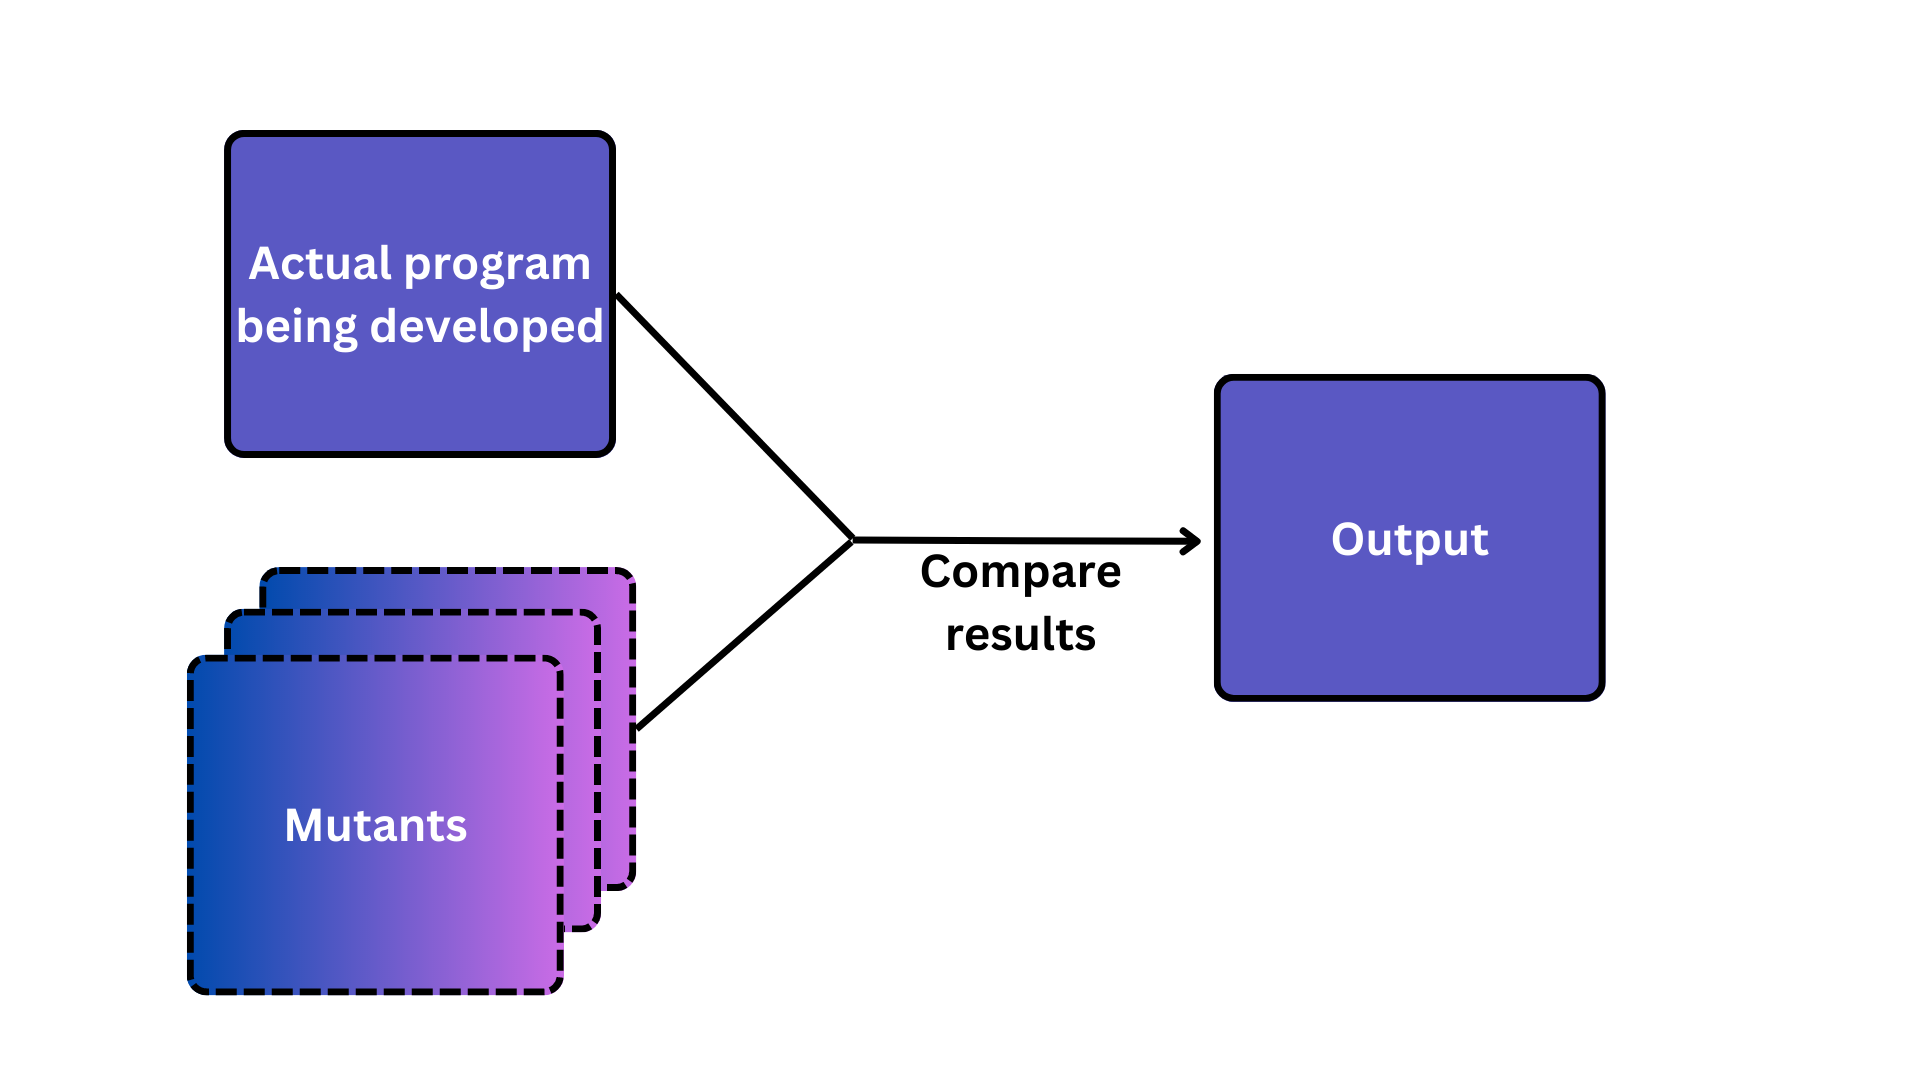
Mutation testing involves making small modifications to the code and checking if your test suite catches these modifications by failing. Each of these modified “mutants” will contain a single modification/fault. You’ll run your existing test suite on each of these mutants. The goal is, of course, to detect the changes by failing (or by generating a different output than for the original code). If that happens, the mutant is “killed”, e.g. the test has successfully caught the mutation and pinpointed it by failing. If your test case doesn’t fail, the mutant has stayed alive and passed your test suite, indicating problems with your tests, i.e. an alive mutant indicates that your test suite does not cover the code part that got changed. The end goal of mutation testing is to have a robust test suite that kills all mutants.

What are the different types of mutation testing?
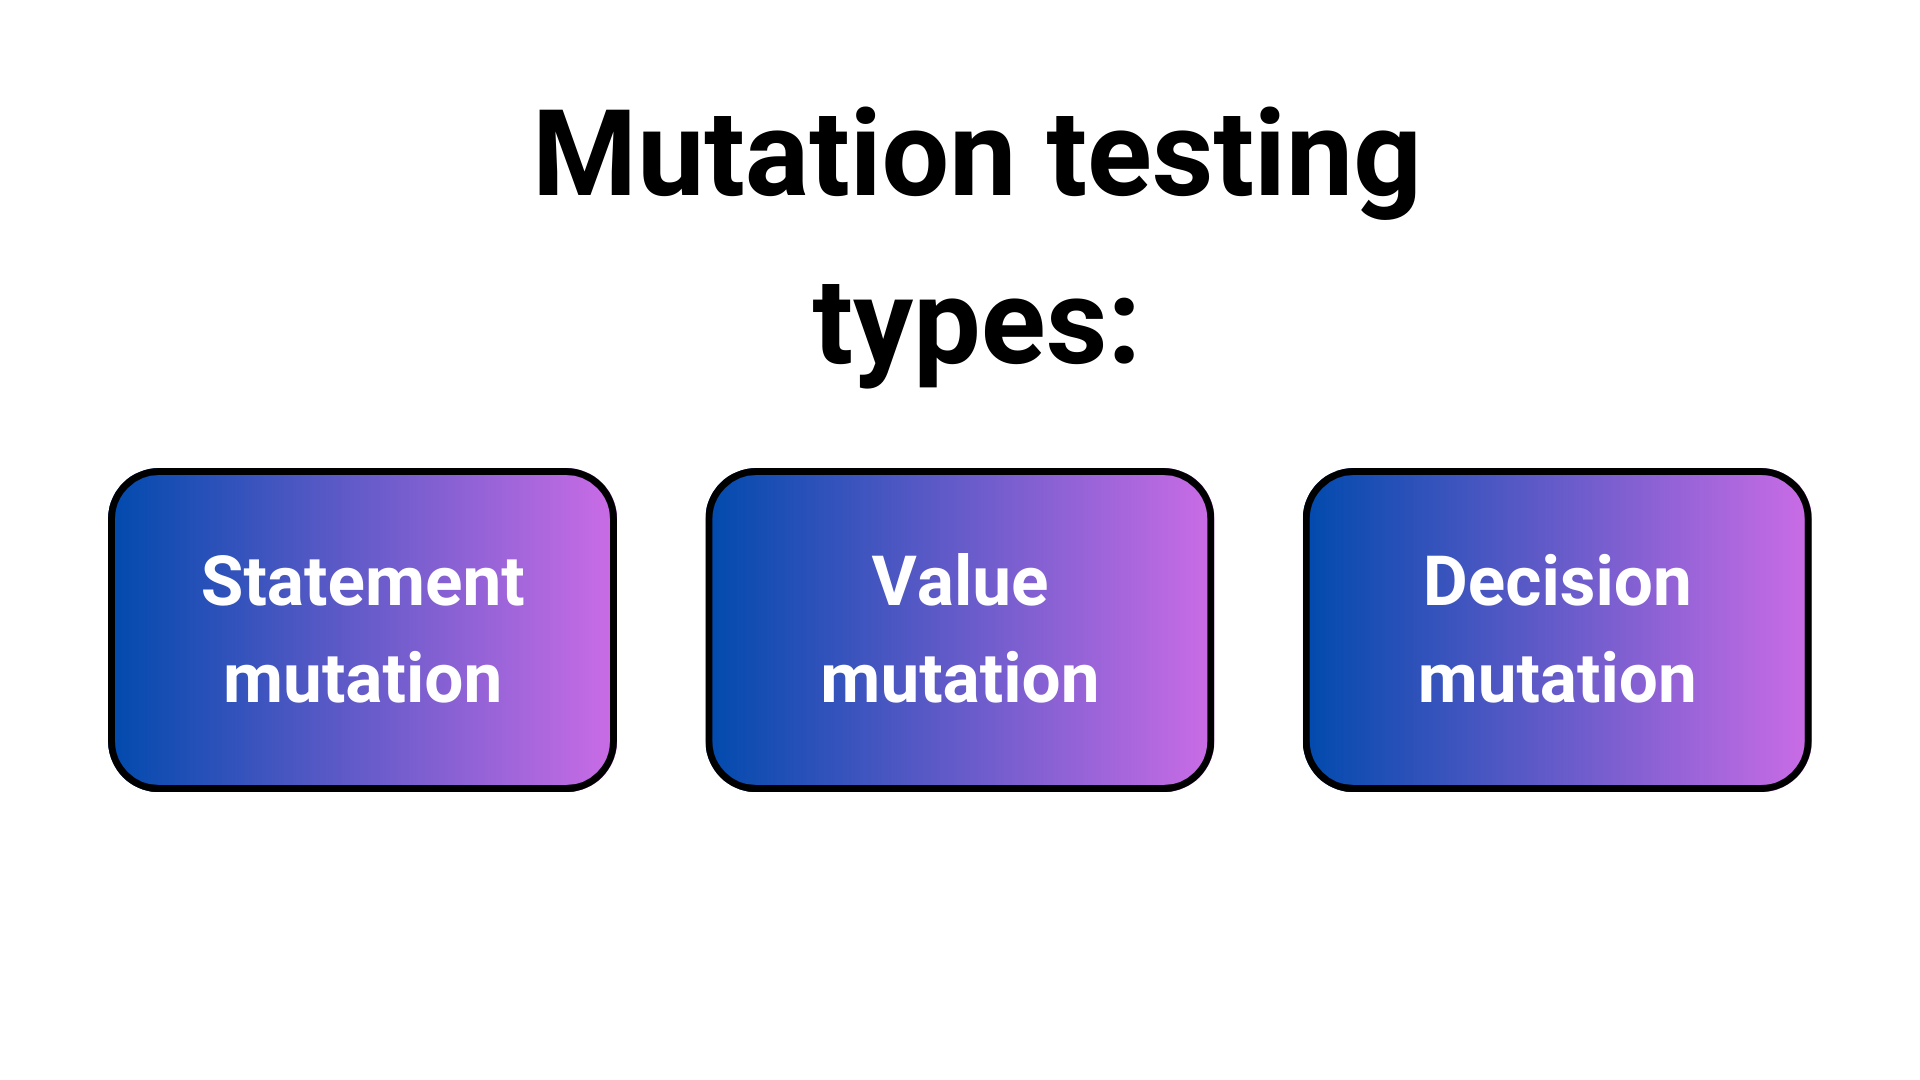
We distinguish three main categories of mutation testing based on what modifications are made to the code being tested:
- Statement mutation: Removing or replacing certain parts (e.g. some lines) of code.
- Value mutation: Modifying values of literals.
- Decision mutation: Modifying control statements.

Within each of these categories, there may be numerous ways to change the program. Let’s see a few examples to help you understand how mutation testing is done.
How to apply mutation testing in software testing?
Example: statement mutation
As a simple example of statement mutation, you may simply remove the else part of an if-else statement, modify some data types in your application, or replace an operator with a different one. These are all reasonable cases of statement mutations. The following examples are from https://www.javatpoint.com/mutation-testing:
| Original code | Mutant |
|---|---|
| if(p*q) | if(p*q) |
| r=15 | s=15 |
| else | else |
| r=25 | s=25 |
Source: https://www.javatpoint.com/mutation-testing
Example: value mutation
In a value mutation, you’ll just… well, modify the value of one parameter at a time to create a mutant. The following is a simple example:
| Original code | Mutant |
|---|---|
| int p=65432 | int p=1 |
| int q=12345 | int q=12345 |
| int r=(p+q) | int r=(p+q) |
Source: https://www.javatpoint.com/mutation-testing
Example: decision mutation
With a decision mutation, you’ll just make some simple modifications to arithmetic operators like changing a “+” to “-”, or replacing “>” with “<”.
| Original code | Mutant |
|---|---|
| if(p>q) | if(p<q) |
| r=5; | r=5; |
| else | else |
| r=15; | r=15; |
Source: https://www.javatpoint.com/mutation-testing
Remember that modifications don’t need to “make sense”. The goal is to ensure that your test suite covers all variations. In other words, you’re not trying to test reasonable scenarios only – any modification can be a good mutation candidate.
Pros and cons of mutation tests
The main benefit of mutation testing is that by detecting errors and improving the robustness of your test suite, it supports the development of reliable and stable software systems. It helps improve test coverage by exposing your test suite to all sorts of variations and helping extend the suite to cover all cases.
On the other hand, mutation testing can be very resource-intensive. Your entire test suite will be run against all mutations, meaning that it involves a lot of testing, which makes it a costly and time-consuming testing technique. Since there are so many ways to create mutations e.g. to make small modifications to the program, it makes sense to use tools to automate the creation of mutants. That’s where mutation testing tools come in handy.
What are some useful mutation testing tools?
Since mutation testing is a relatively niche technique, you won’t find a ton of established and standard tools. In our blog post about the top Java unit testing frameworks & tools, we collected some of the most useful mutation testing tools – here are two of them for Java developers, and one if you’re not working in Java:
µJava
µJava is considered kind of an “oldschool” mutation testing tool for Java developers. It was released in 2003, but its development stopped in 2016 and is offered on an “as-is” basis ever since, meaning that it may be deprecated. It’s still useful for generating mutants for traditional and class-level mutation testing. It can test individual classes as well as packages of multiple classes. You can use it to automate both the creation of mutants and test execution, and µJava even provides an analysis of mutation coverage, making it an all-in-one tool for mutation testing Java code.
PIT (pitest)
P (or pitest)IT is another mutation testing tool for Java that was the first tool for mutation testing systems in an incremental manner. It’s still actively developed and supported, making it a future-proof choice. The tool can create automatically modified versions of your code and run unit tests against these mutants. It’s compatible with third-party libraries (e.g mocking frameworks), and integrates with modern test and build tools (works with Ant, Maven, Gradle, and other build tools), making it useful for a wide range of (Java) users. PIT can deliver easy-to-read reports that combine line coverage and mutation coverage data for you to analyze the effectiveness of your testing activities.
Stryker Mutator
If you’re not a Java developer, Stryker may be your mutation testing tool of choice. Stryker is an open-source mutation testing tool that is actively maintained by the open-source community at GitHub. It supports JavaScript & TypeScript, C# and Scala, and works with any test runner you may use. The tool provides smart reporting via the Stryker dashboard which also lets you send reports for easy analysis. Developers of this tool provide a list of supported mutations so that you can see what the tool can do for you (and your code).
Summary: taking mutation testing a step further
Mutation testing can be a powerful addition to your testing toolbox, and we hope the above guide provided some good insights to help you get started. If you’ve just started using mutation testing and are overwhelmed by uncaught mutants, why not try Symflower to streamline the creation of your unit tests?
Symflower can generate test templates and even complete unit test suites for plain Java and Spring Boot apps. The mathematical precision with which Symflower generates tests means that you’ll have the right tests to meet those mutants head on!